 A few days ago I finally finished building my coil vase.
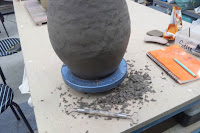
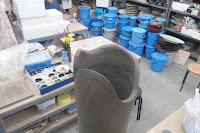
This is where I left it, lumpy. So It was time to shave off those unsightly lumps!
The vase was left to dry with only towels (no plastic this time) so it was the perfect hardness for carving.
 I took my carving tool and as with most things you start from the bottom and work to the top.
I used the flat side of the tool since you can see what areas are still uneven. As you see in the picture the lighter spots are where I carved higher lumps off, the darker spots are still untouched. The goal is to get an even surface, and it's easy to tell since the clay will all be one color.
 Like usual I put the vase on a table wheel, but since it's so tall it's easy to knock over. Holding the base of the neck and carving away at a diagonal angle ensures it won't fall over and that the clay is coming off evenly. (Carving straight or from side to side could leave unevenness, diagonal gives the most control, and it's a heck of a lot faster!)
 It is basically the same pattern from here on out, diagonal carving.
Here is the base finished.
 two thirds finished
 Just a little more.
This last part of the top was actually the most difficult. Holding the vase steady and carving the softer top was a little more tricky. My arms and shoulders were pretty sore after from standing on a stool and stooping over.
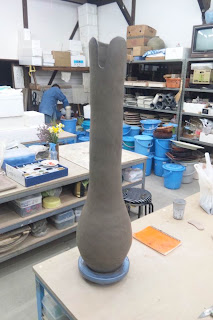
 2 hours later and done! Looks MUCH different from the lumpy version. Nice polished finish.
 Here is a close up of the vase, nice and smooth.
The vase is still pretty thick even after shaving, which is a must since I plan to put big branches in it later on. So a good heavy base is in order.
 The carving is done but the final touches are not. If you remember from my initial sketch, the mouth of the vase has a free form feel to it. So after lightly sketching with a felt marker the places I wanted to reduce, it was time to cut the excess away. I used a wire tool and steel cutter.
 Here's after a few more cuts, still boxy and not very polished.
 After some smoothing over it looks quite nice. Much more interesting than a normal boring vase.
 Voila! It's "finished"!!!!!
It felt good to get this far.
 So good I had to hug the vase out of pure joy :D
 After another week of drying, it will get a green ware sanding down and dry for about 5-6 weeks before it can be bisque fired. More to come on it in mid-April!
Total hours so far= 15 hours
Total clay 10kilos-.75= 9.25 kilos
Until next time! With much happiness from Sara Yama Studio!
No comments:
Post a Comment