 April 18th, we opened the long awaited noborigama at Sara Yama Studios. Although taking the pieces out of the noborigama is much easier and faster than the reverse, it still takes a lot of man power and coordination to do it correctly. All students of Sara Yama are supposed to help so there were about 40 of us helping that day.

First we must scrape away the sand goop like mixture we put on the brick doorway a week ago. A wedge like metal tool is what Arai Sensei uses and it works like a charm. Since all the water has obviously evaporated from the sand it falls off quite easily when slight pressure is applied. It results in a sandy mess all over the floor and your shoes.

After all the sand is removed, the bricks are numbered again with chalk so when we do the
 The bricks are removed one by one...

This is the first glimpse into the noborigama...you can see tons of ash on the floor and the glazed pieces on the right.

The ash must be cleaned out from the noborigama before we can begin taking the pieces out. A long iron rod with a wedge on the end is used to drag the ash out. (Yes, theres that much ash it needs to be dragged!) After large amounts are removed, we can sweep out the inside to get the rest. The ash is put into styrofoam boxes. I asked what they do with the ash, figuring it'd make good gardening soil additive, but actually I learned that the ash can be used to make the medicine put on pieces to make sure the glaze doesn't run. Nothing goes to waste!
 Now that the ash is mostly gone, a towel is laid down so Arai Sensei can kneel inside while passing out each piece one by one.
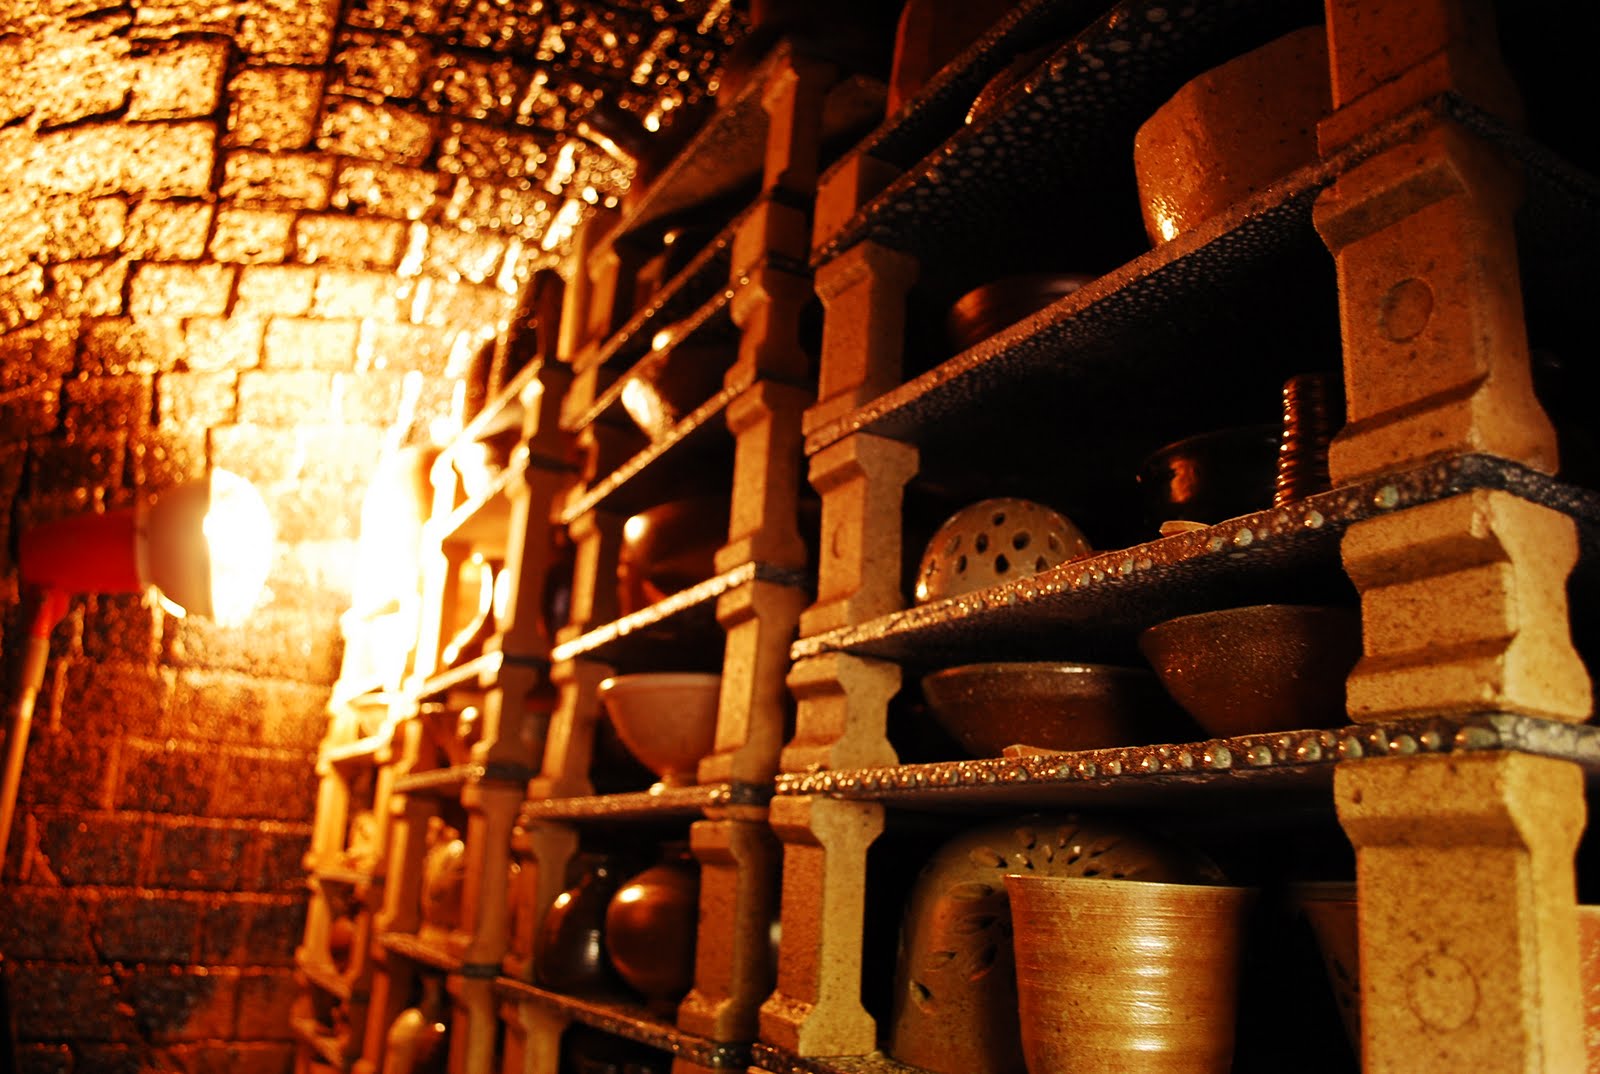 A light is placed inside and it looks magical. All the pieces have turned a nice brown color. Now the passing begins...

From the kiln doorway...


to the tarp...
All the students line up and begin passing the pieces one by one out of the kiln. There is a grassy park right across from the studio and a large blue tarp is laid out to put the pieces on
.
 The pieces are laid out in the exact order they were put in. The reason we do that is to see the effects of the kiln on the pieces. Certain spots in the kiln are wonderful, resulting in great ware, certain spots aren't so great and the wares don't get fired all the way through...
 Unfortunately, about half of my 20 or so pieces did not get fired properly and will have to be re-done in the electric kiln in order to turn out sufficient. A piece that did not get fired properly looks like this. It's dull in color and has small bubble looking lumps on its surface. I was pretty bummed out that half of my pieces didn't turn out, but it's good to know they can be re-done. Crisis averted.

The pieces that did turn out are here... 2 yunomi (tea cups) one small vase, one large salad bowl, and 8 kozara (or small plates) *All are free form except the 2 cups and vase, those where wheel thrown. I was going for a natural theme. (look how the pieces are nice and shiny compared to the one above)
Things that I'm happy with are the vase and tea cups, they turned out well and have a nice mix of clay and glaze showing. The flower shaped kozara turned out so so. The next batch of kozara I will not use any texture imprinting on the clay, I found out it prevented the glazes from flowing down and mixing easily and I ended up with bald spots on some pieces. I was able to see what color combos suited each other (like I mentioned before i used about 6 different glazes in different combos) in the noborigama, and what colors did not.
 As you can see in this picture the noborigama is great for earthen colors, not so great for anything but. I experimented this time and brought in some blues and yellows and lighter colors but sadly most of my pieces with the lighter colors didn't get fired all the way and will have to be put in the electric kiln anyways. But a few did make it and I didn't care for the result. Looking at everyone elses pieces I noticed the black sandy clay with a white glaze was the most interesting and eye catching. Bizen and Shigaraki clay mostly turned out in brown hues, very subdued. All the glazes in general ended up turning out mild compared to their electric firing process counterparts. (you can also see the earthen color in the photos above) Next noborigama I'll use the black clay and experiment with white glazes. Overall this noborigama was a great learning experience, and I can't wait for the next one this summer!
No comments:
Post a Comment